Showing posts with label Vinyl. Show all posts

Tuesday, August 14, 2012

Cars Party Decor

Cars Party Decor
Designed for Oh My Crafts

I'm a huge Disney Pixar fan and when Cars 2 came out, I couldn't pass up the opportunity to help throw a Cars 2 release party by inviting friends over to watch Cars 1 before the big premier.  For this party decor I used vinyl and the Cricut Cartridge Cars to make my own party décor.


Supplies: Cricut Cartridge: Cars | Oh My Crafts Vinyl : Assorted Colors | Sizzix : Bigz Pro Die - Box, Popcorn #2 | Napco : Set of 2 Planter (Yellow and White)

Instructions: Start by cutting out backgrounds for each image in black and then cut out the features with the appropriate colors. Use transfer tape to assist in putting the large pieces of vinyl on the background but for the small pieces, you should be fine without it. The black background should have cuts that help when layering the vinyl.

All of the vinyl was cut at blade setting 5, Medium depth, and fast speed.


Image from Cars Cartridge
Vinyl Colors
Size
"The World of Cars" Sign
Ebony, Cherry Red and Cloud White
11 1/2"
Mater
Ebony, Cloud White, Walnut, Peanut Butter, Elephant Grey, Stormy Grey, Celadon, Metallic Copper
11 1/2"
Lightning McQueen
Ebony, Cherry Red, Cloud White, Lemon drop, Persimmon, Walnut, Admiral Blue
8"

Many of the cars will not cut larger than 11 1/2"; however, this Lightning McQueen will cut very large (note that this car cut at 8”).

What's a party without popcorn?  Here's how I made the boxes:

Simply die cut the boxes with the Big Shot Pro machine and assemble. Use Oh My Crafts Exclusive Acid Free Craft Tape ½”x5 feet for a strong hold. Adhere a Cars emblem to the box in vinyl. Line the boxes with a plastic bag (found at general party stores) and fill with popcorn or goodies.

Static Cling Vinyl


Oh My Crafts: High Static Cling Vinyl Project Ideas
Designed for Oh My Crafts

Oh My Crafts High Static Cling Vinyl is a high-grade professional vinyl that sticks without adhesive to smooth, glossy surfaces such as windows, mirrors, plastics and many other materials.  The High Static Cling Vinyl is flexible and thin enough to cut with any standard electronic cutting machines.  Assembly is easy and can be removed and re-applied effortlessness, making it great for seasonal window displays, home décor, decals, signs and many other creative ventures.  

Applying Static Cling to a Window from the Inside
(Use this technique for window displays and car decals)
Example: “No Soliciting” Sign

Supplies:
·         Oh My Vinyl: High Static Cling
·         Oh My Vinyl: Desired Colors and Transfer Tape
·         Silhouette SD Machine and downloadable “No Soliciting”
Instructions:
1.       Cut out phrase or image such as “No Soliciting Except for Girl Scouts” with vinyl.
a.       Tip: With tinted windows use bright colors so the image will show through.

2.       Weed vinyl, leaving the phrase/image on the liner.
3.       Press transfer tape onto the phrase/image and transfer onto the static cling.
4.       Peel off transfer tape.
5.       Trim the static cling leaving a thick border around the phrase. 
6.       Peel off static cling from liner and apply to window from the inside.

Applying Static Cling from the Outside Using Only a Few Colors Vinyl
(Use this technique when applying to mirrors, picture frames, home décor, etc…)
Example: Sailboat Display and Mustache Mirrors

Sailboat Display

Supplies:
·         Oh My Vinyl: High Static Cling
·         Oh My Vinyl: Turquoise Blue, Mint Green, Tangerine, Peanut Butter, Cloud White
·         Silhouette SD Machine and downloadable Sailboat from Silhouette Studio
Instructions:
Step 1: Mount Vinyl
Mount the base layers of vinyl to the static cling (Mint Green, Tangerine, Peanut Butter, and Cloud White).  If bubbles appear, poke a small hole at an angle with a push pin through the top layer to release the air.
Step 2: Cut and Layer
Cut vinyl with electronic cutting machine and layer any necessary pieces (turquoise blue on cloud white).

How to Cut High Static Cling + 1 Layer Vinyl
With Electronic Cutting Machines
Machine
Blade Depth
Pressure/Thickness
Speed
Silhouette SD
.3mm (Pink blade)
33
3
Eclips
4
2
3
Cricut
4
High
Low
Step 3: Apply
Peel off liner from the static cling and apply to the mirror, shower door, bathtub, or any smooth and glossy surface.

Mustache Mirrors

Supplies:
o   Oh My Vinyl: High Static Cling
o   Oh My Vinyl: Ebony
o   Silhouette SD Machine and downloadable Mustache Set from Silhouette Studio
o   Mirrors

Instructions:
o   Apply 8”x8” square of black vinyl to the high static cling.
o   Cut with Silhouette SD Machine.
o   Peel off static cling from liner and apply to mirror.

Applying Static Cling from the Outside
(Use this technique for conserving vinyl when applying to mirrors, picture frames, home décor, etc...)
Example: Static Cling Paper Dolls

Supplies:
·         Oh My Vinyl: High Static Cling
·         Oh My Vinyl: Desired Colors
·         Eclips Machine and Cartridge: Dress Ups

Instructions:
1.       Cut out images (clothes, accessories, body) out of vinyl at 6”.  To cut faces on the bodies, use the laser-cut preview before cutting to determine the correct location.
2.       Layer clothes and accessories that should be permanent (such as the white ruffles on the blue dress).
3.       With static cling, cut out the base layers and mount the coordinating vinyl images on top. (For example, I cut the skateboard out of brown vinyl, layered the green vinyl strip on top, cut the skateboard with static cling and transferred the skateboard to the static cling.)  By the way, static cling does not stick to the non-adhesive side of vinyl.
4.       For the bodies, place them behind a frame (with a plastic instead of glass) or attach the bodies to the clipboard with static cling vinyl.


h


Reading Chart

 Summer Reading Chart
Designed for Oh My Crafts 


So, I won't have children that are old enough to read for several more years but I wanted to pass on an idea that you can do to get your kids excited to read during the summer with this fun reading chart. Each time your child finishes a book, have him write down the name of the book on one train car made of vinyl and adhere it to the bedroom wall. Before you know it, he’ll have a long train wrapping around his room showing how much he has accomplished. 


Supplies Used: Oh My Crafts : Vinyl  and Transfer Tape | Bazzill Cardstock : Vanilla | Cricut Cartridge : Everyday Paper Dolls and Plantin’ Schoolbook | Imaginisce : Complete Scrapbook Kit - Let’s Roll | Doodlebug : Craft Knife, Ruler, and Cutting Mat | Red Ribbon


Instructions:

1. Cut out and weed the following images with the Cricut Expression Machine. For cutting vinyl, the blade depth should be 5 and low pressure.


Cartridge
Image
Material
Quantity
Size
Everyday Paper Dolls
Train Engine
Admiral Blue
1
5 1/4"

Everyday Paper Dolls
Train Caboose
Cherry Red,  Sunshine Yellow, Admiral Blue, Oasis Blue Vinyl
8 per 12"x24" sheet
5 1/4"
Everyday Paper Dolls
Train Conductor
Admiral Blue (overalls), Walnut (shoes), Maize (blond hair), Cloud White (shirt), Cherry Red (bandanna), and Vanilla colored Bazzill paper for body (increase pressure to high)
1
9"
Plantin' Schoolbook
"Sam's Summer Reading Train"
Cherry Red Vinyl
1
2 3/4"
 

2. You may be wondering why you cut so many train cabooses. These cabooses can be transformed into train cars by trimming off the top and side pieces. Make all the train cabooses into train cars except for one.

TIP: Use a craft knife and ruler to help cut quick, straight lines.

3. Assemble the train conductor so that it resembles your child.


Banner Instructions:

4. With transfer tape, remove “Sam’s Summer Reading Train” and apply it onto white vinyl.
5. Trim the white vinyl around each word and apply it to colored vinyl.

TIP: If you get air bubbles between the two layers of vinyl, use a small pin to pop the bubbles.

6. Trim a thin border around the colored vinyl and apply to patterned paper.
7. Trim a thin border around the patterned paper.
8. Punch a hole in the top left and right corners of each word and thread a ribbon through.

TIP: When making a banner, be sure to attach the ribbon near the top. If you were to punch lower holes and attach the ribbon, the words might flip because it gets too top-heavy.

9. Hang the banner on a wall with the train conductor and the train engine.
10. Each time your child finishes a book, have him write down the name of the book on one train car and adhere it to the bedroom wall.

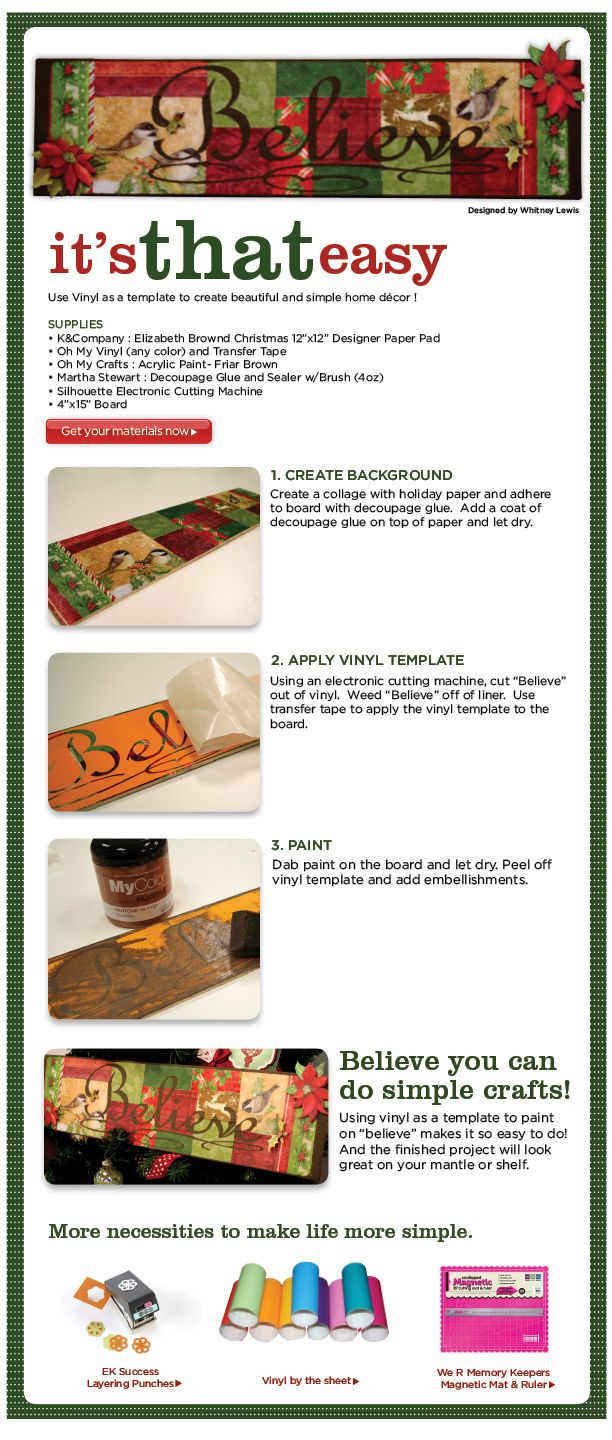
Believe It's That Easy


Thursday, October 6, 2011

Halloween Plates

Spooky Plates
Designed for Oh My Crafts


If you want an easy decor project that will grab everyone's attention, this project is just for you!  All I did was cut out images with black vinyl and my electronic cutter (Silhouette) and then stuck the vinyl to silver chargers.  With the silver as the background, it looks like the images are glowing!  It is so easy to do (and) when you're done with the Halloween season, you can peel off the vinyl and use the chargers for your Thanksgiving dinner, or redecorate them with other holiday decor.
I love it!

Advice: Use transfer tape to help you apply the vinyl in one piece to the chargers.  Also, if you happen to get bubbles in the vinyl, use a little pin to poke the holes and release the air. 


Wednesday, September 28, 2011

Haunted Halloween Shadow Box

Halloween Shadow Box Made with Vinyl
Designed for Oh My Crafts


 So I have to admit, this is one of my favorite vinyl projects but no matter how hard I try, my photography skills just don't do it justice, so please excuse the glare of the glass and instead marvel at how amazing vinyl can be when it is cut out of FREE fonts from the internet!  I had such a fun time designing this project and layering the vinyl on the glass as well as the backdrop to make the phrases look like they are floating towards you.  I think after Halloween is over, I might have to make one for every holiday (:   If you happen to make one too, let me know.  I would love to see your creative spin on the idea!


Supplies Used:
Silhouette SD  | Shadow Box: 20”x20” from Ikea | Oh My Vinyl: Persimmon (3 sheets), Transfer Tape (3 sheets)  | 2 Sheets of 12”x24” Black OMC Bazzill Cardstock
  | Optional Embellishments: American Crafts : Embossing Powder, Mini Halloween Stamp Set, Martha Stewart : Elegant Witch Stamp, EKSuccess : Spider Stickers
 

Instructions:
 

Step 1: Prepare Your Entire Design on Silhouette Studio (Sure Cuts A Lot or Make The Cut)
1. One of the great things about these software products is the ability to cut any font you have on your computer. For this project, I Google searched “Free Halloween Fonts” and installed the following fonts to my computer: Friday 13, FOO, Earwig Factory, Drips, Creeper, Bloodgutter, Badacid, Bones, Abaddon, and Trinigan. (Talk about gory names!)

2. Once you have installed a collection of spooky fonts, gather Halloween words and phrases. Here is a list of phrases I used:   A haunting we will go | Trick or Treat | Creepy | Toil and trouble, Boil and bubble | Enter if you dare | Very Scary | Eeek! | Fright Night | Ghosts & Goblins | Keep Out! | Beware | Happy Halloween | All hallow’s eve | Spooky | Boo | Haunt | Wicked | Bones | Thrills & Chills | Hocus Pocus | Wicked | Caution | October 31st
3. Type the phrases in spooky fonts.
4. Enlarge the phrases you want to stand out and shrink other phrases.
5. Temporarily set the mat to 19” x19” so you know how big to make the phrases. Stretch, shorten, enlarge, and shrink the words to create a 19” square.
 

Step 2: Cut Vinyl.
1. When cutting a 19” square with the Silhouette, you will need to cut it in a few sections. I divided the 19” square into three 7”x19” strips.
2. Weed and apply transfer tape over the phrases (do not peel off the vinyl from its liner yet).
 

Step 3: Shadow Box
1. Prepare the shadow box.
     a. Adhere black 12”x24” paper to the back board.
     b. Clean the glass with window cleaner.
2. With scissors, cut out the phrases you want on the glass and set aside (keeping in mind their position).
3. Peel off liner from vinyl and apply phrases to black paper with transfer tape.
     a. TIP: Leave the transfer tape on until the end. By doing this it will help you line up the pieces on the glass like a puzzle.
4. Place the glass over the black paper and apply the rest of the phrases onto the glass using the background as a guide to help line up the words.
 

Step 4: Embellish
1. Embellish with Halloween spider web stamps and spiders onto the black paper to fill any empty spaces.
 
 
Step 5: Hang up on the wall and enjoy!